Creating a Classroom “Quiet Spot”
To teach your students self-calming skills, create a “Quiet Spot” (or a “Calming Corner”) in the classroom for the students to “take a break,” or “take some space,” when they become upset. The Quiet Spot is a way to teach children to calm themselves down by taking space away from their classmates and by doing self-relaxing activities. You could decorate it with snowflakes and other items that invoke images of “coolness” and “calmness” and call it the “North Pole.”
This area could include a bean bag chair with a basket of “Quiet Spot toys.” If you do not have space in your classroom to create separate Quiet Spot center, you could put a bean bag chair, pillow, or carpet square in the reading or listening center, and place a basket of “Quiet Spot toys” next to it.
“Quiet Spot toys” to put in a basket could include squishy balls or soothing toys to squeeze or shake, a pillow to pound, or a teddy bear to hug. You could also place paper and envelopes in the area, and encourage children to rip up a sheet of paper and place the scraps in an envelope to put in their book bag or to throw away when they leave the quiet spot. Other items could include a small, personal fan or squeeze toy that blows air, a small spray bottle, bubble wrap to pop, and a square of felt to pull.
Teach children to use this area as a place to calm-down by demonstrating its use as well as consistently directing children to “take a break in the Quiet Spot” when they become too upset to work through a conflict. Introduce the area and explain rules such as “one child at a time,” and “toys stay outside,” then pretend that you feel angry or sad and use the quiet spot to calm yourself down in front of the class. Keep in mind that this area should not be used as a punishment (time out) area.
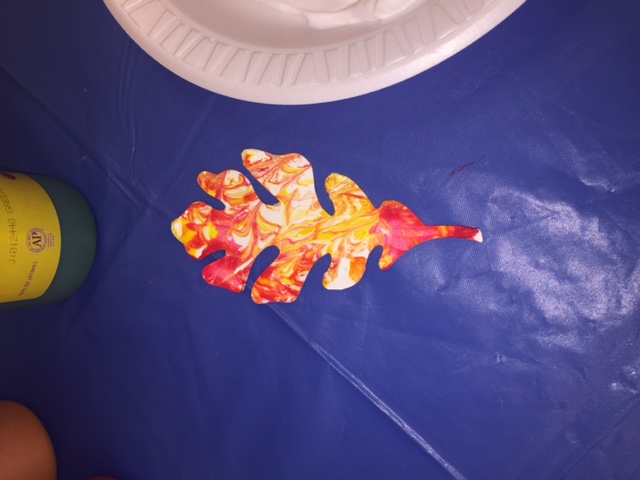
Fall Foliage Mobile
This fall foliage mobile is a beautiful seasonal art project to do with the kids in your care! They’ll love the process art that comes along with mixing paint and shaving cream, and seeing that every leaf comes out different! This is also a great opportunity to get the kids moving by taking them on a scavenger hunt outside to find the sticks needed for the project!
Materials:
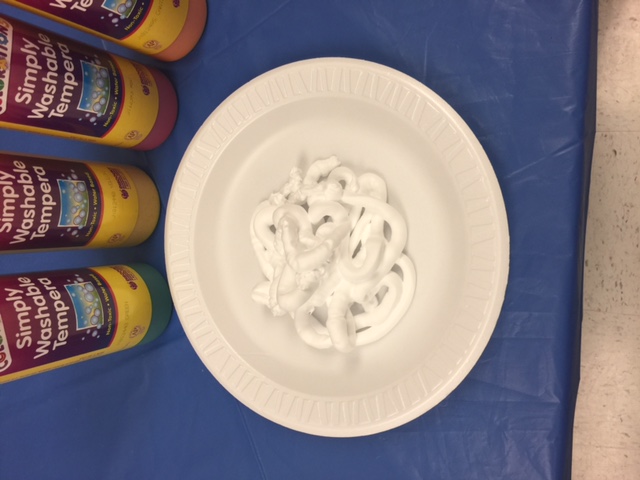
- Shaving Cream
- Tempera Paint (fall colors)
- Assorted leaf die-cuts
- String
- Stick or Small Branch
- Paper Plate
- Spoon
- Stirrer
Directions:
- Cut shapes of leaves using die-cuts on cardstock paper or cardboard.
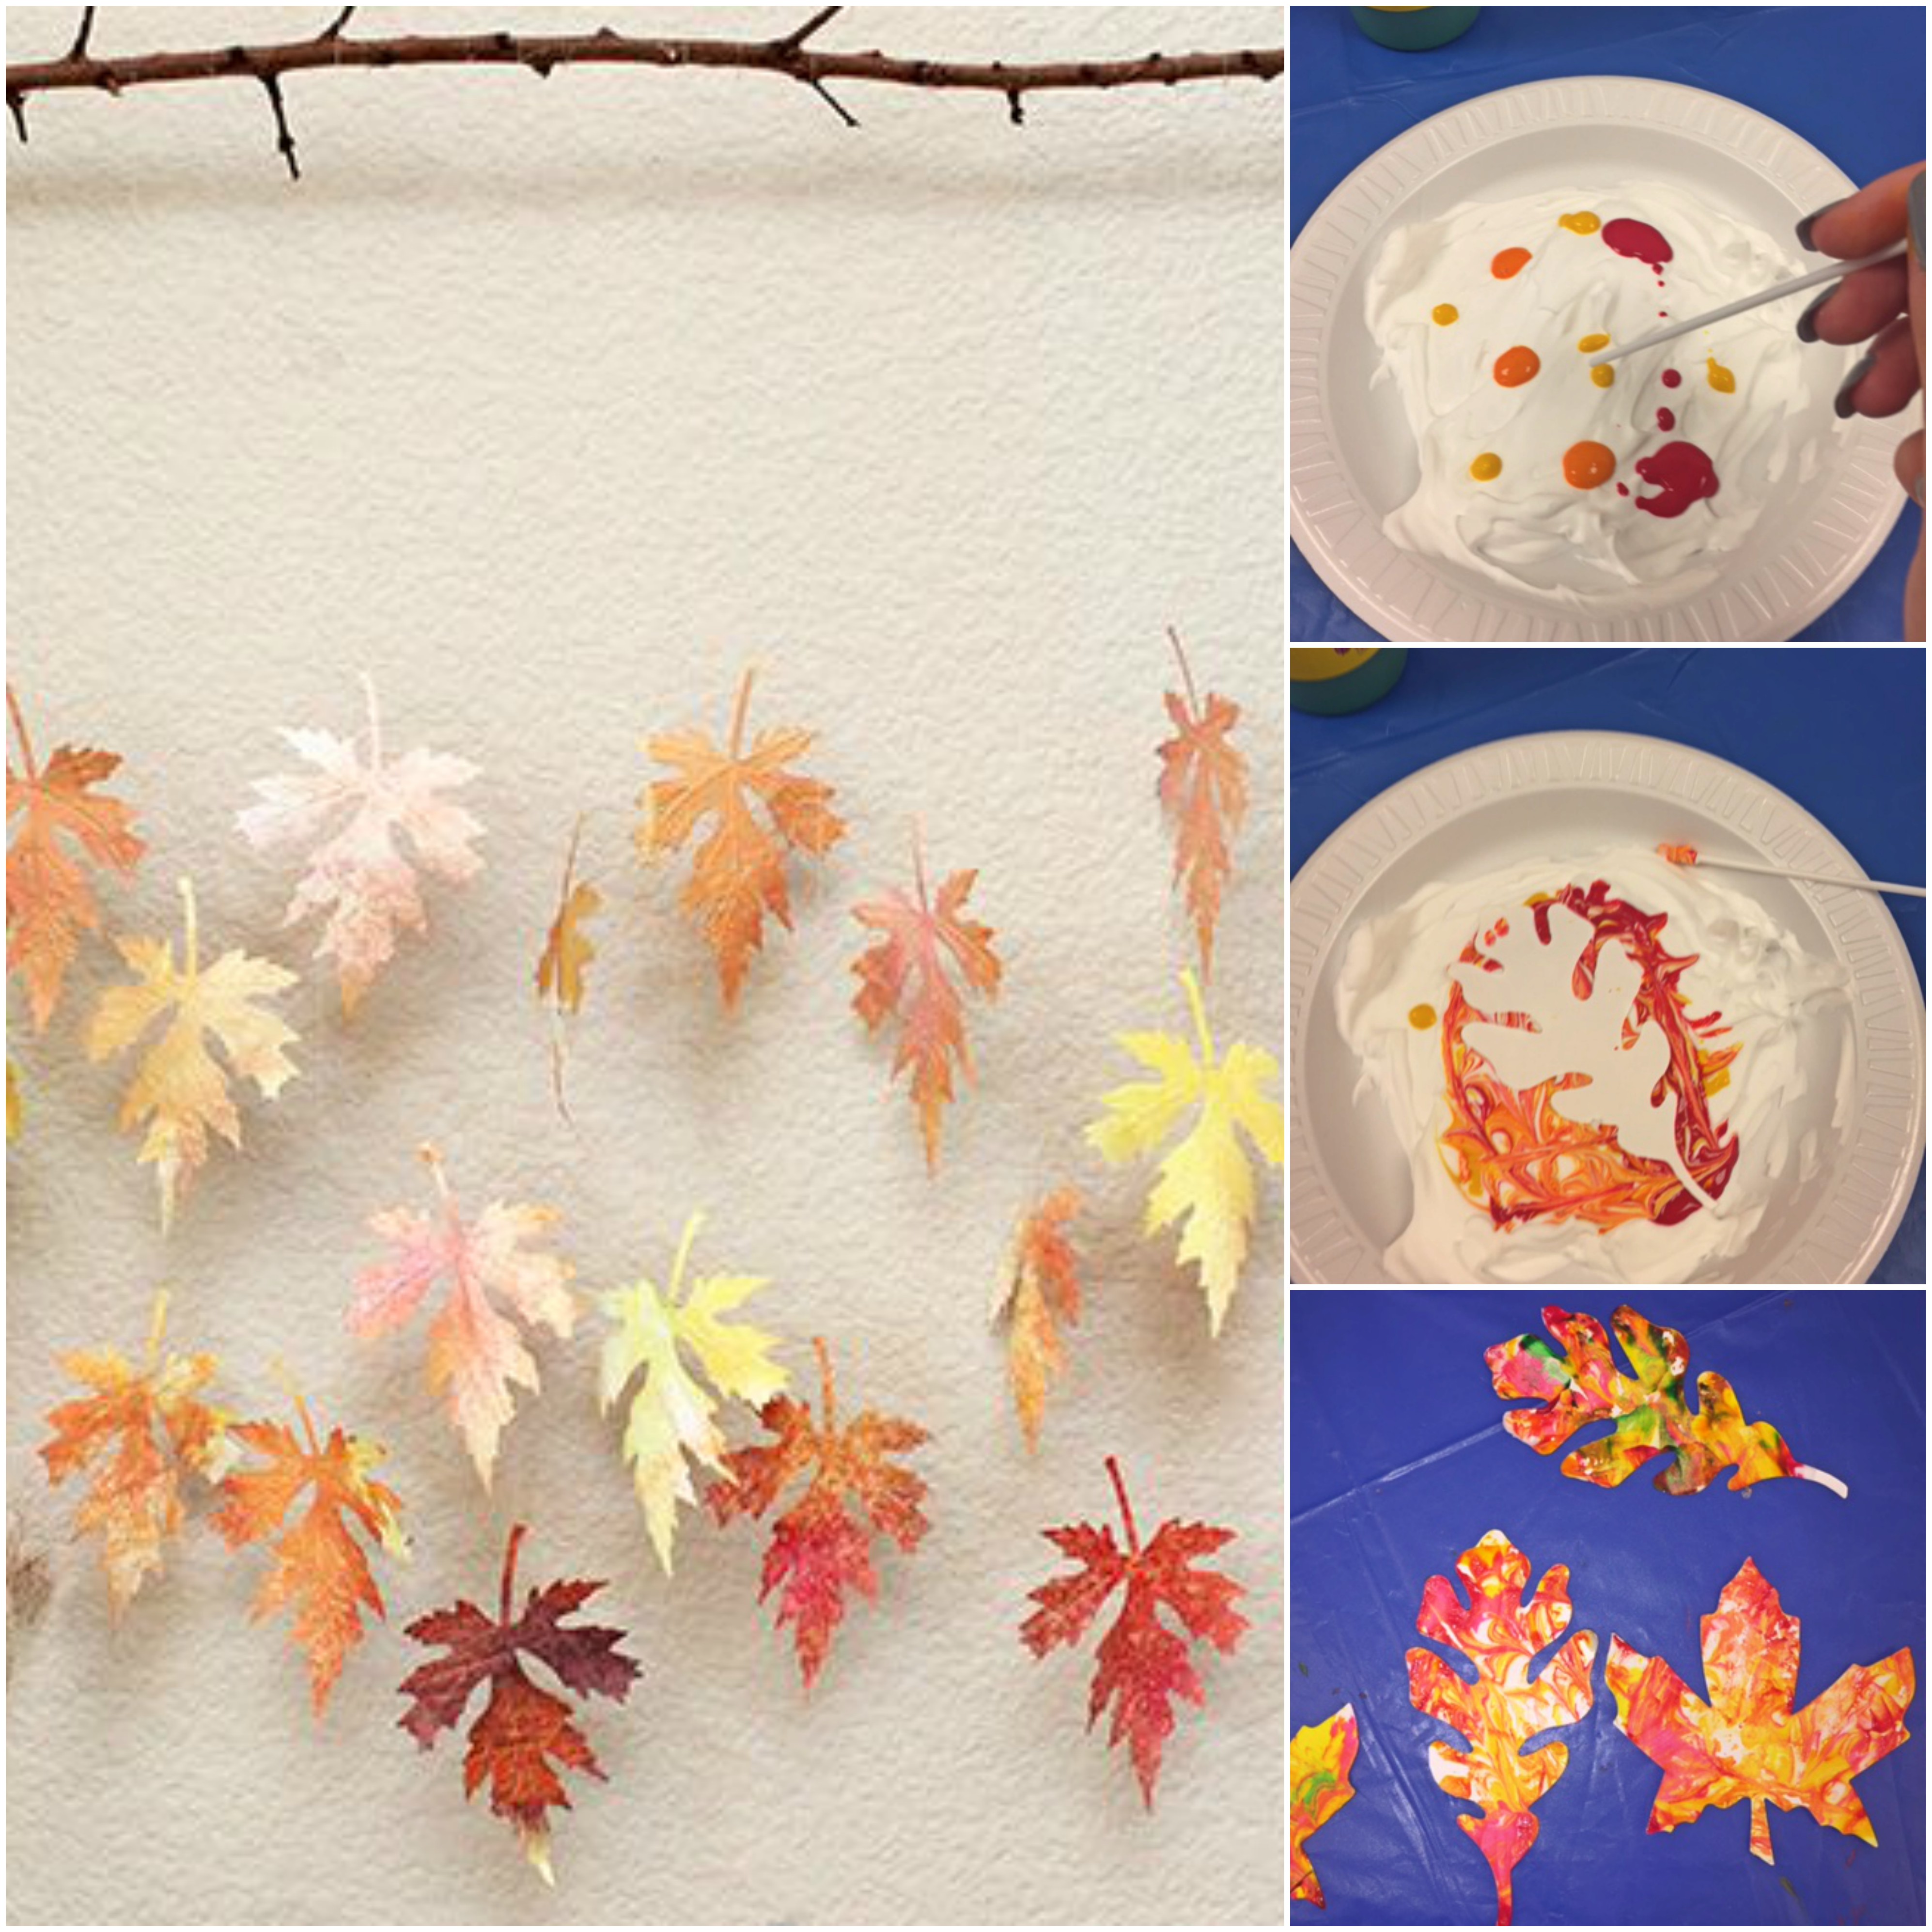
- Spray medium amount of shaving cream onto paper plate and smooth out with spoon.
- Put a few droplets of each color onto the shaving cream.
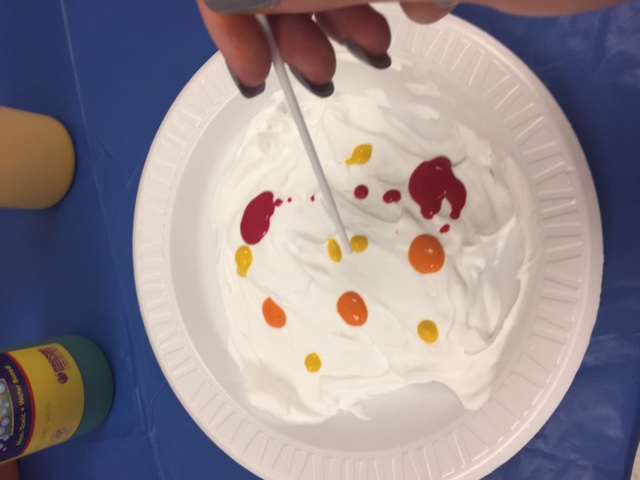
- Swirl the droplets around with a stirrer or toothpick.
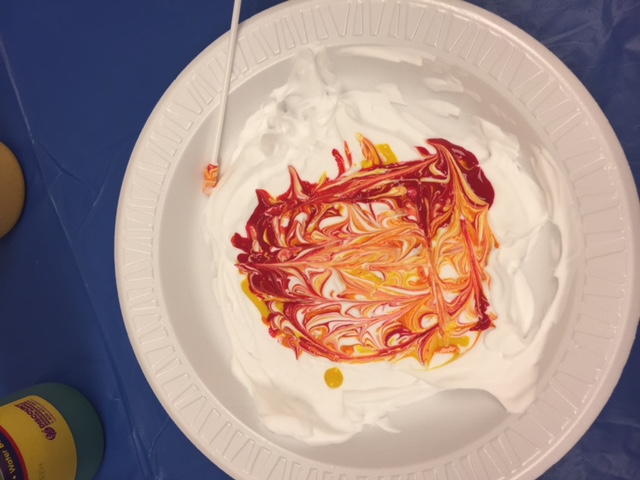
- Place one leaf face down onto the paint and cream. Make sure to press down all edges.

- Slowly remove the paper from the cream, use your nails or the stirrer to help pick it up.
- Scrape off the excess shaving cream with the edge of another piece of paper.
- Repeat steps by spraying more shaving cream on top of the paint and adding more paint. You should be able to get 2 or 3 leaves out of each layer.
- Let leaves dry for 1 hour.
- Once dry, cut strings for each leaf to different lengths
- Tie string around the stem of your leaves
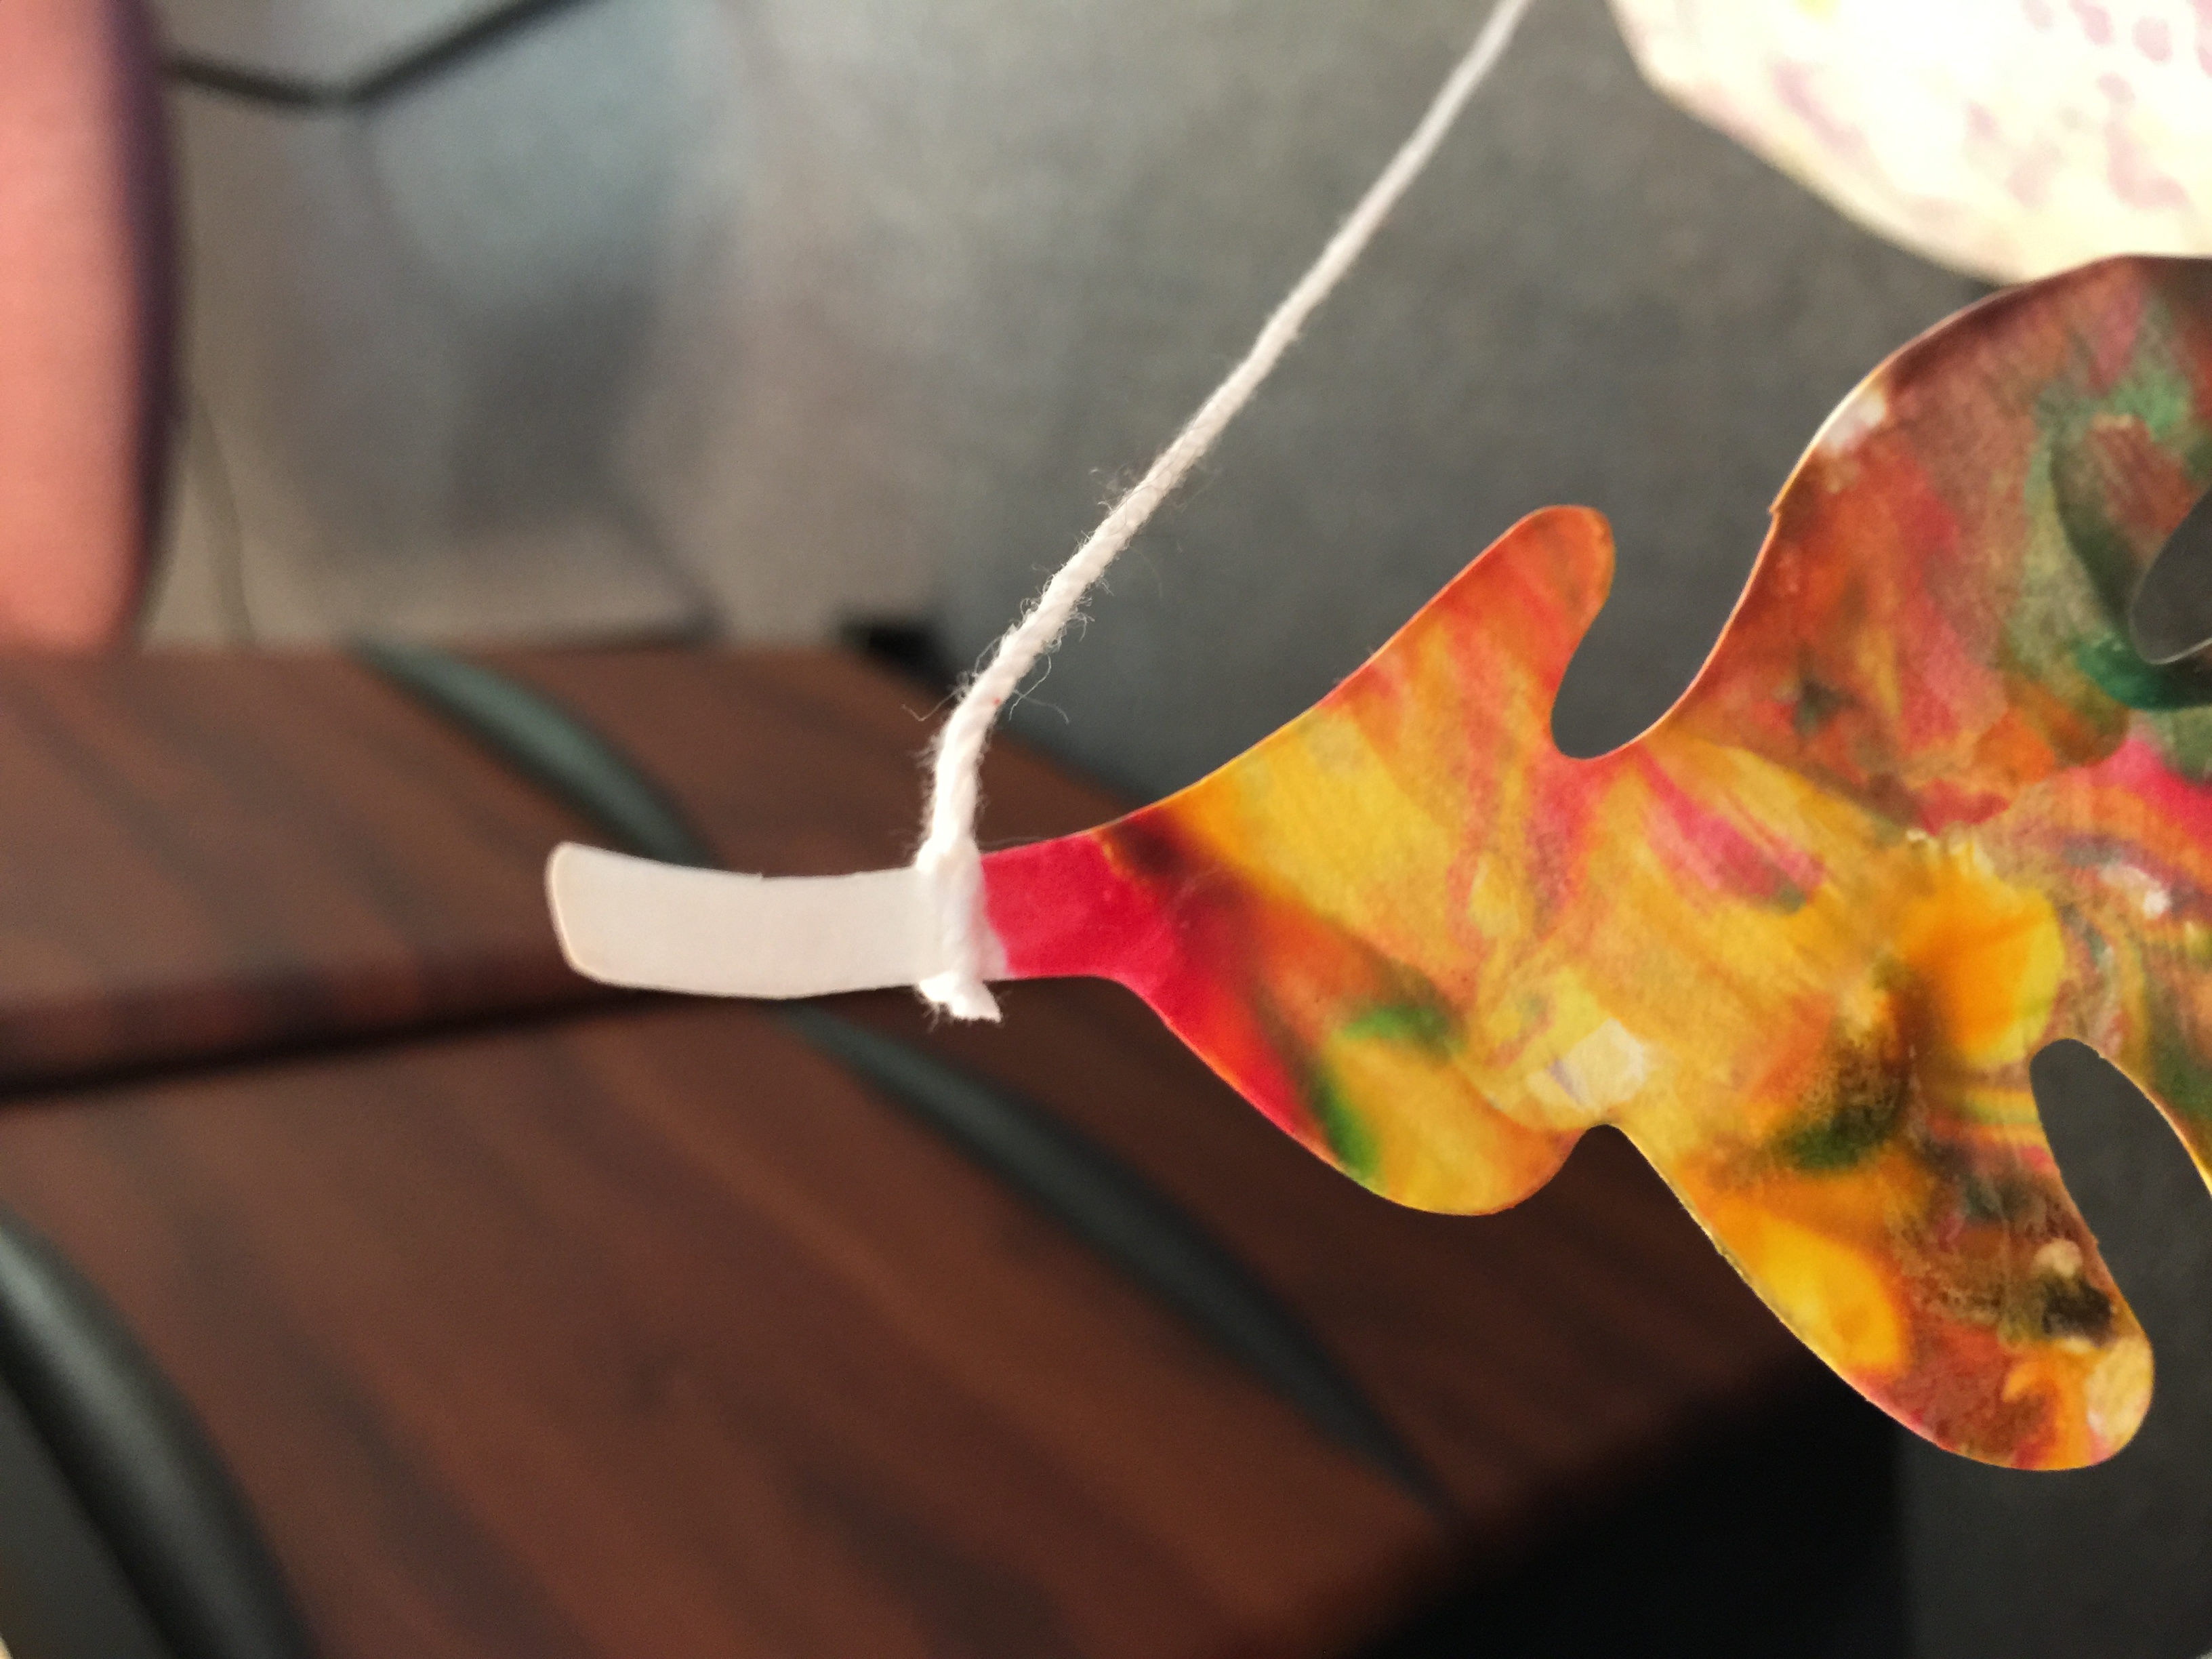
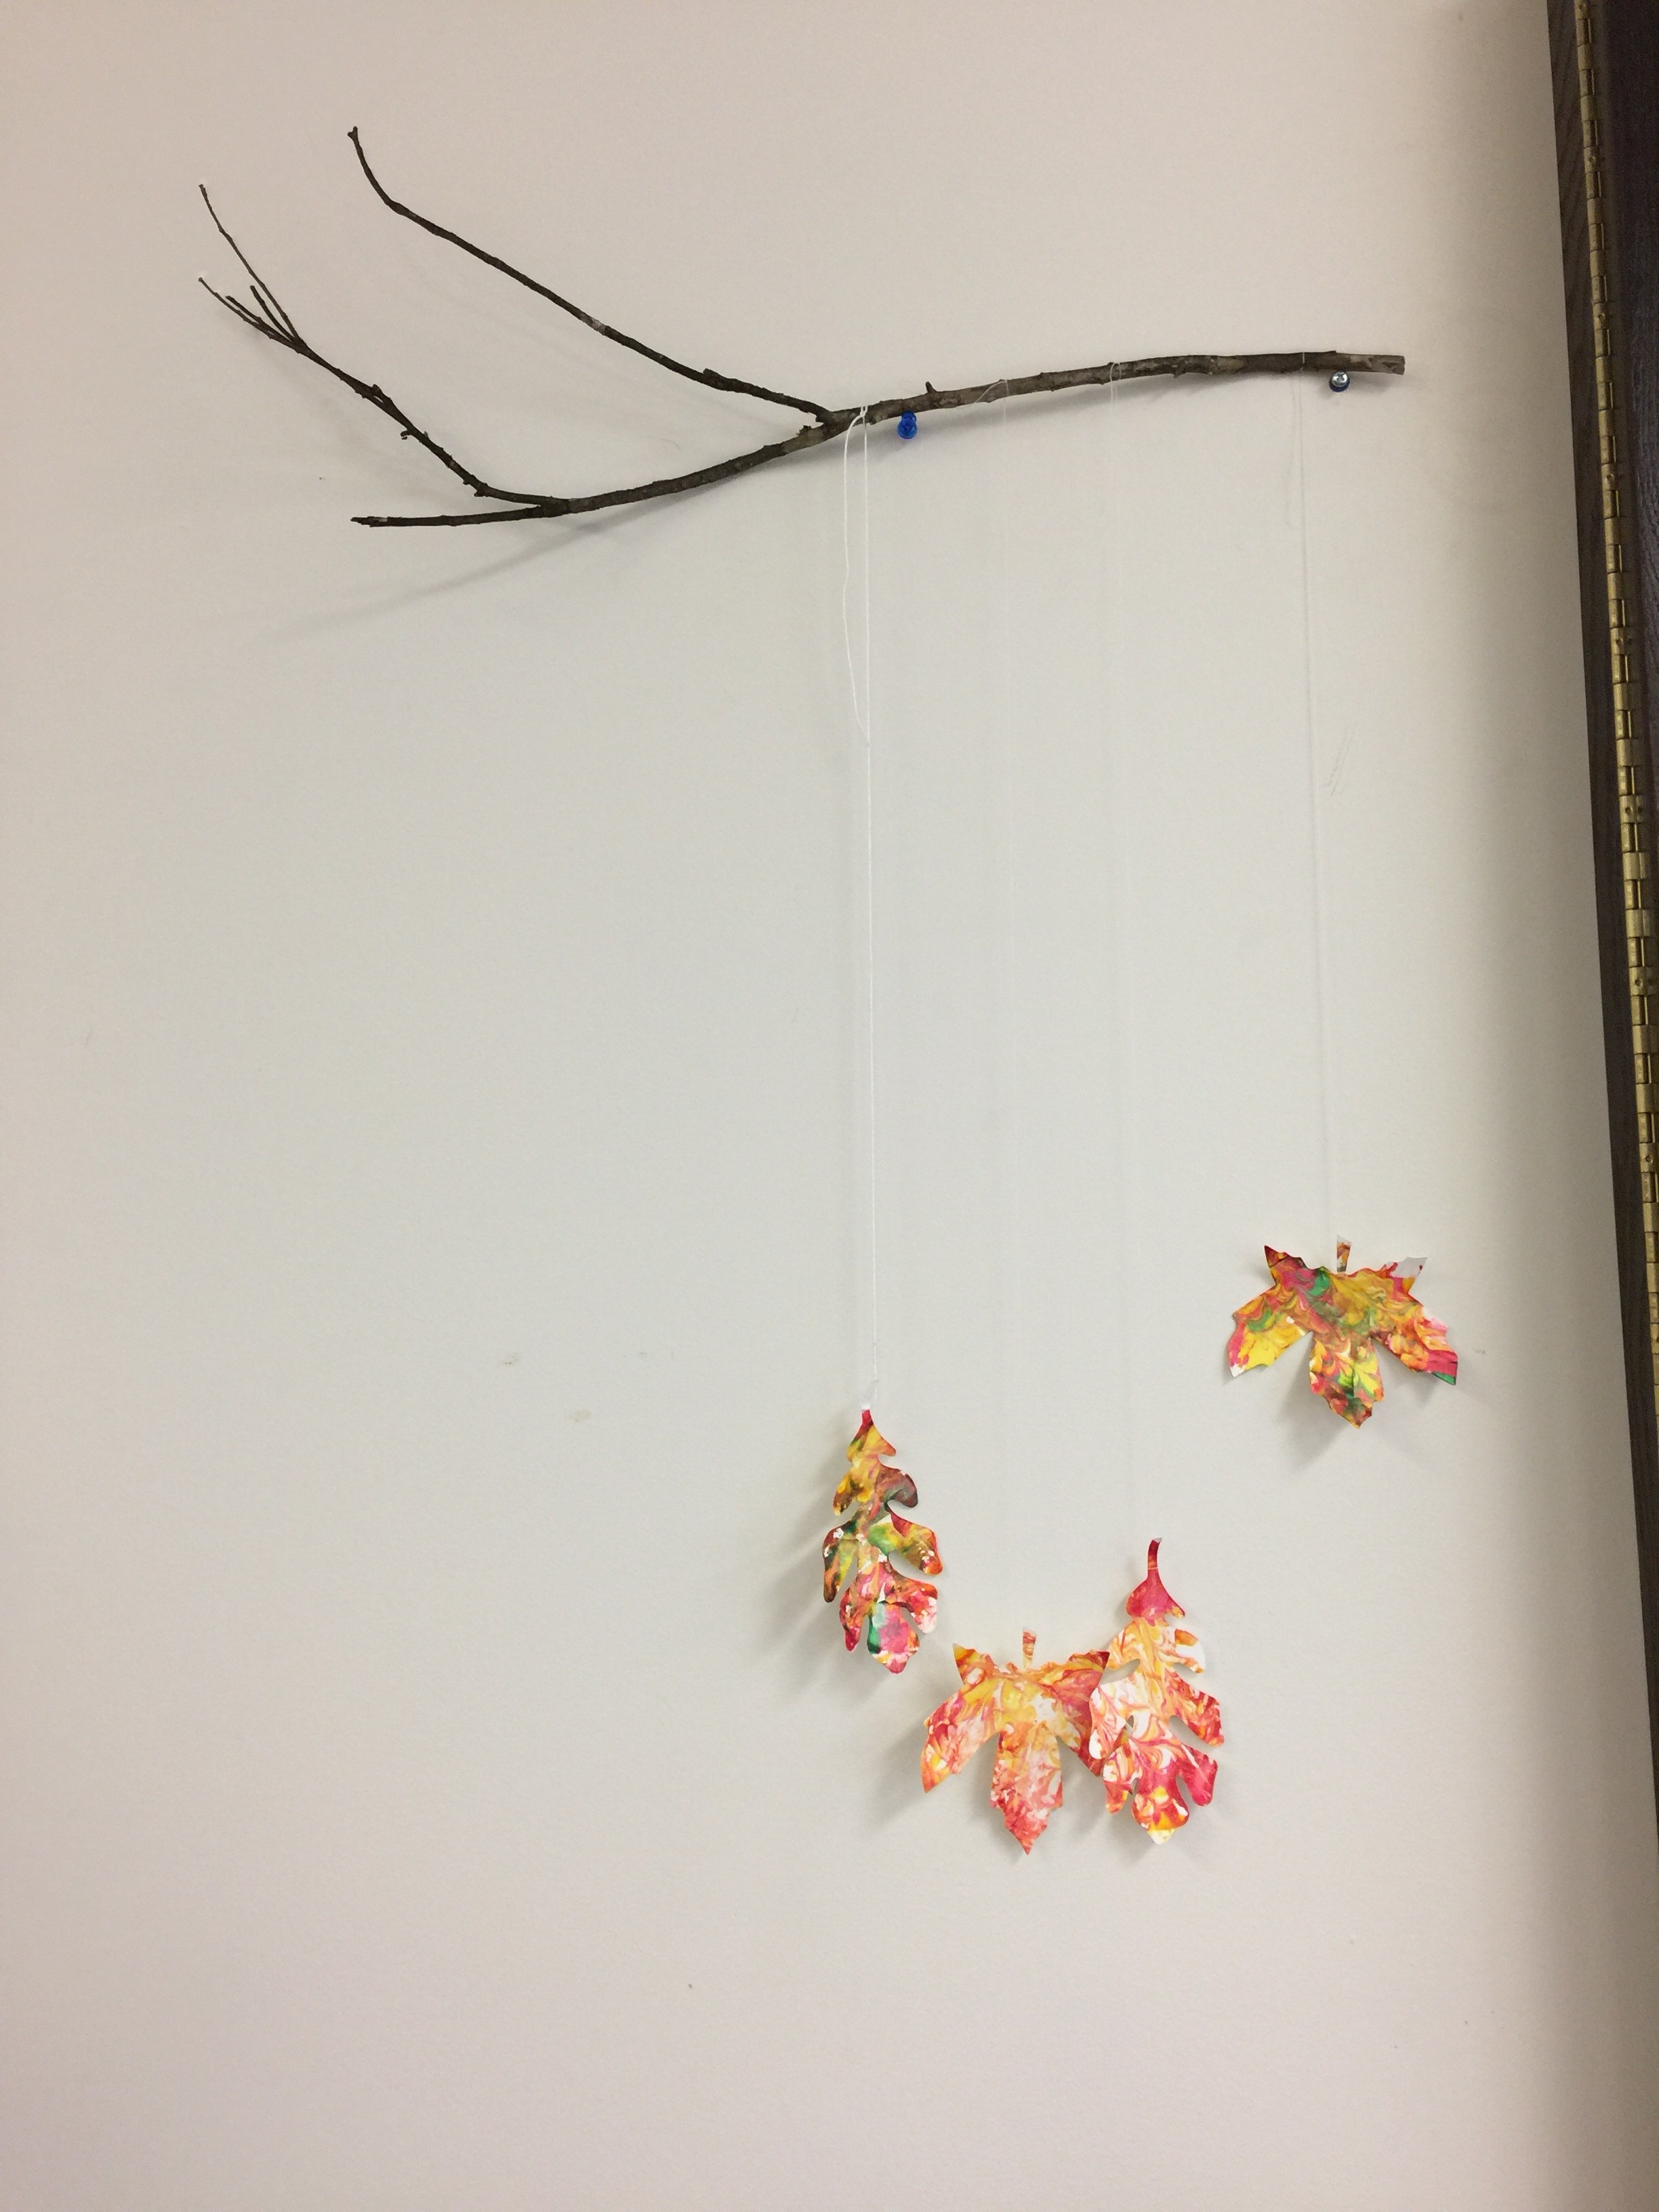
- Attach each string to a branch or stick.
- Hang your branch or stick for decoration!
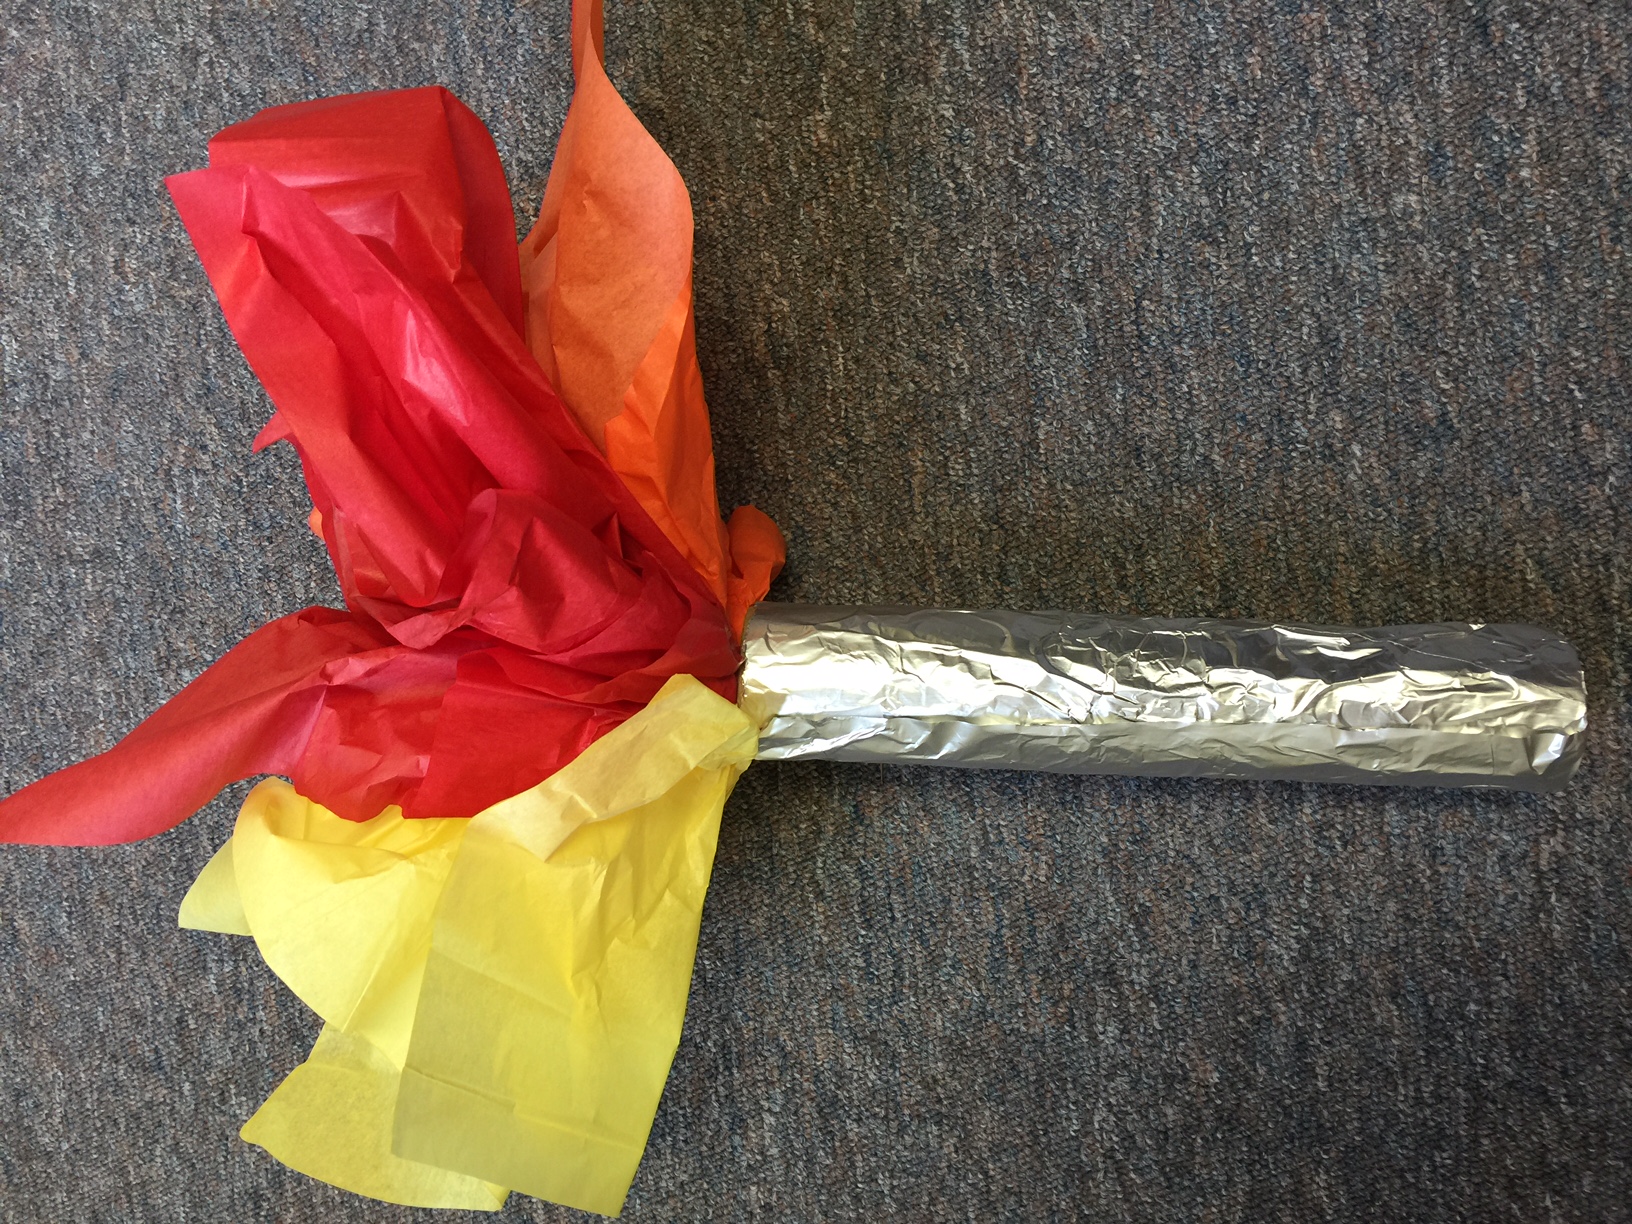
Olympic Art Activity: Olympic Torch
Olympic competitions offer many great lessons to teach young children about sportsmanship! Tonight, all of the Olympic athletes will gather in Rio for the opening ceremonies. There, a burning torch that was originally lit in Greece earlier this year, will be run through the crowd to signal the beginning of the games. To make your very own torch with just a few supplies, follow the instructions below! Kids will work on some gentle fine motor skills when gently wrapping tin foil around an object without tearing it and using tape to secure it. Working with thin tissue paper is also a great way for kids to learn the value of being gentle!
Materials:
Paper towel roll (or 2 toilet paper rolls taped together)
Sheet of tin foil
Clear tape
Red, orange, and yellow tissue paper
Instructions:
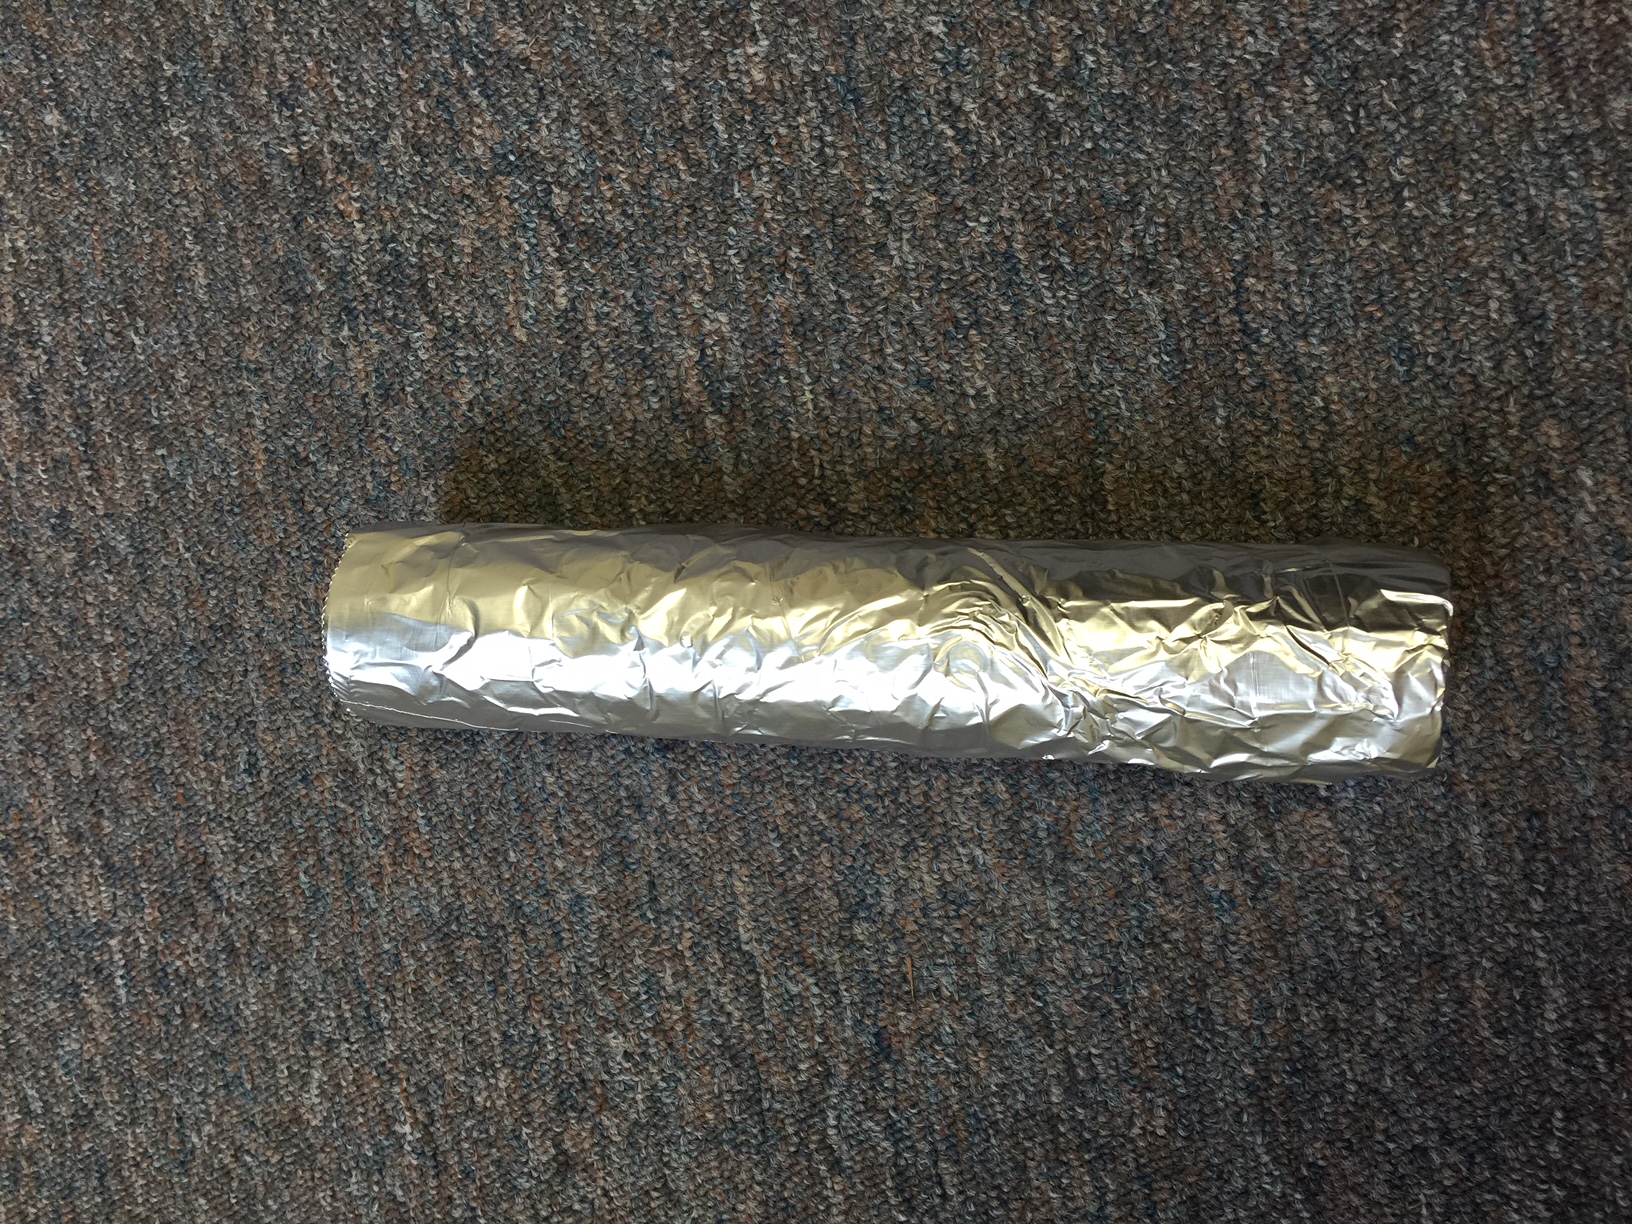
Tape your toilet paper rolls together end to end or get your paper towel roll ready.

Start by wrapping a sheet of tin foil around the cardboard tube. Tuck the end pieces into the holes at either end and use clear tape to hold it on the tube.
Take your 3 sheets of tissue paper and grab the center of each sheet as if you were going to put them into a gift bag. Twist the center pieces together so they will fit into the top of the tissue roll.
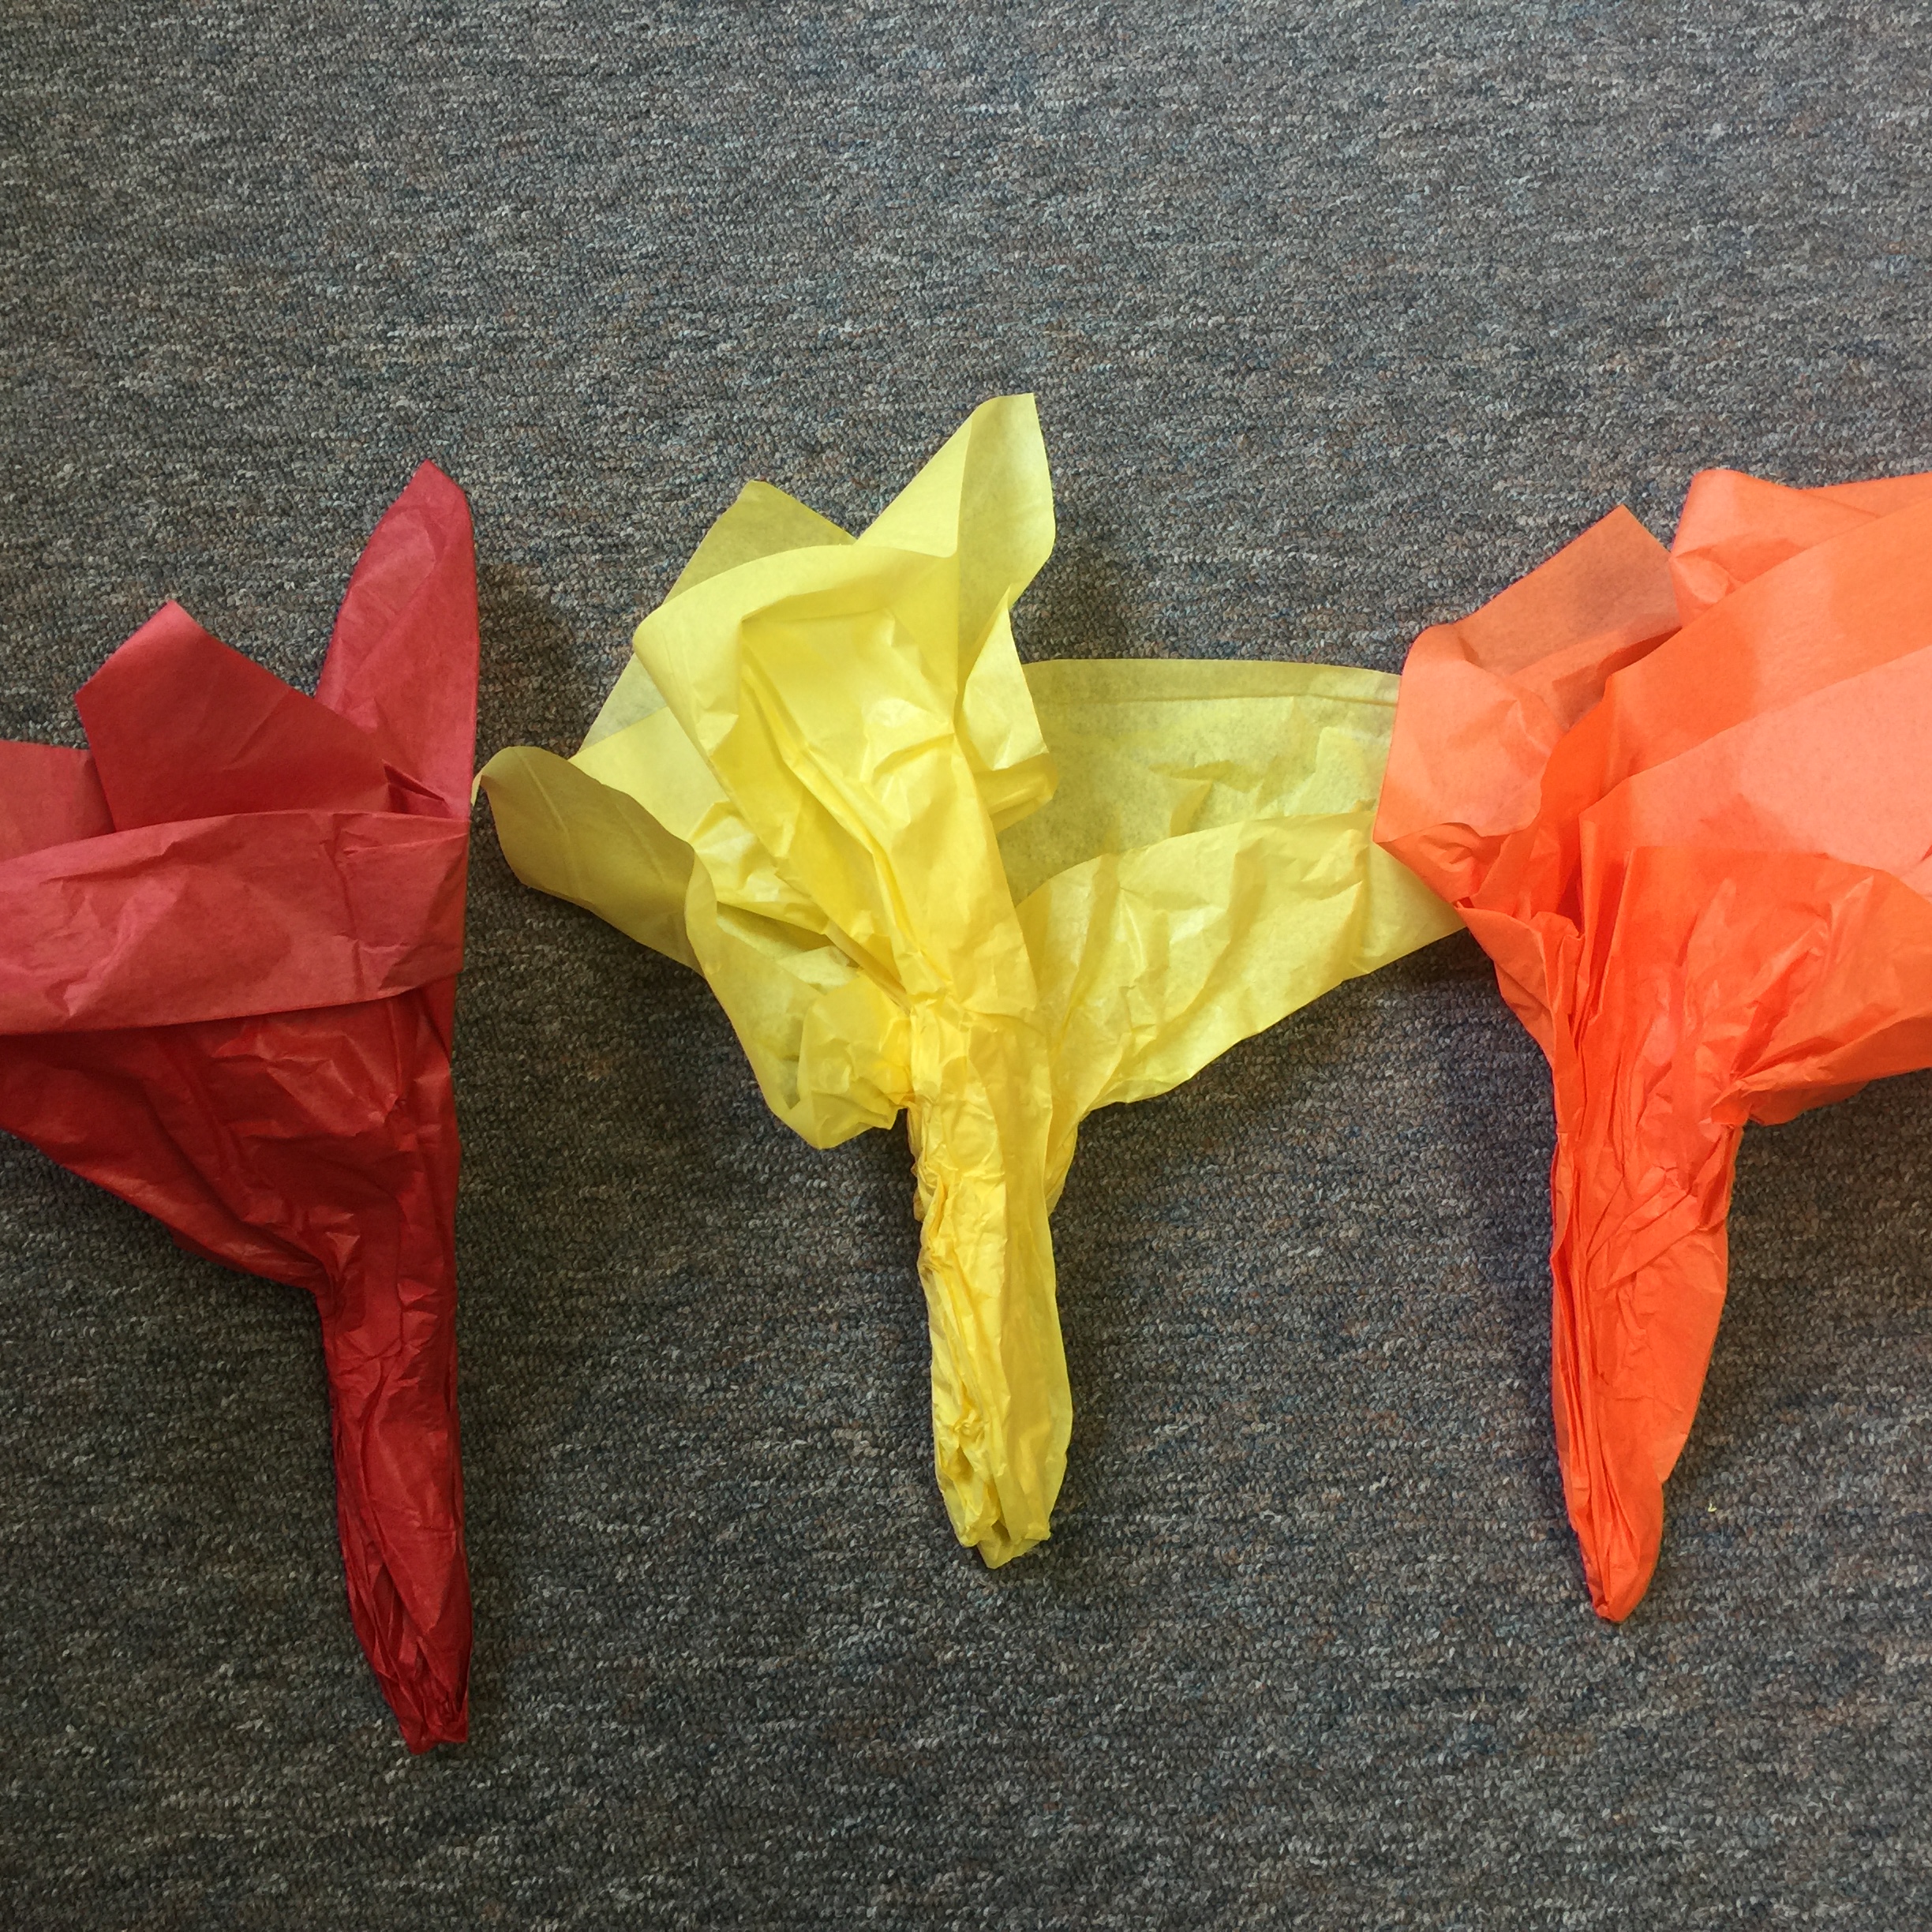
Stuff the centers of each sheet into the tube and you have created your very own Olympic torch!