Posts
Winter STEM Activities
Looking for ideas to keep children interested in STEM (Science, Technology, Electronics, and Math) in these cold winter months?
Here are 2 easy and fun winter STEM activities to try!
Growing Ice Experiment
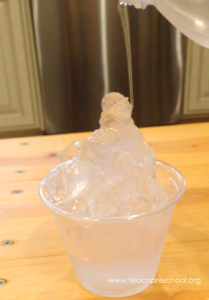
Place unopened bottles of water in your freezer and leave them there for about 2 hours and 45 minutes.
While you wait for your water bottles to cool, prep a work station with a container of ice. You can use a cup, bowl, or tray of ice.
After the 2 hours and 45 minutes, your water should not be frozen. Gently carry the water to your work station. Do not shake, bump, or disturb the water as it will freeze.
Slowly pour the water onto the ice in the container. The ice should freeze the water on impact and create “growing ice”!
The reason the water instantly turns to ice is because the water in the bottles is VERY close to freezing and when it touches the already frozen ice, it sends it over the edge!
Arctic Blubber Experiment
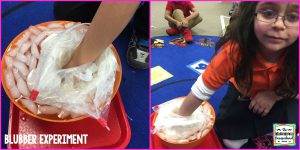
Have children put their bare hands in a bowl of icy water for as long as they can (up to 30 sec.).
Once their hand is dry, put a rubber glove on their hand and make a fist.
Layer the fist with lots of canned shortening.
Place plastic wrap over the hand and shortening to create a seal.
Have child put their hand back in the water and feel the temperature difference.
Explain that arctic animals have a layer of blubber that keep them warm in icy conditions.
Sensory Activity: Water Beads
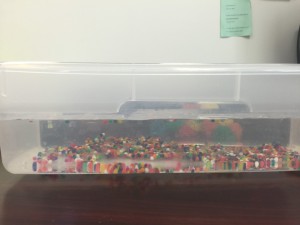
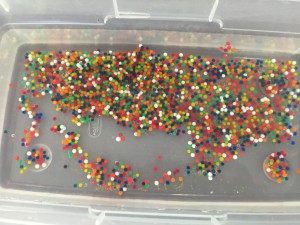
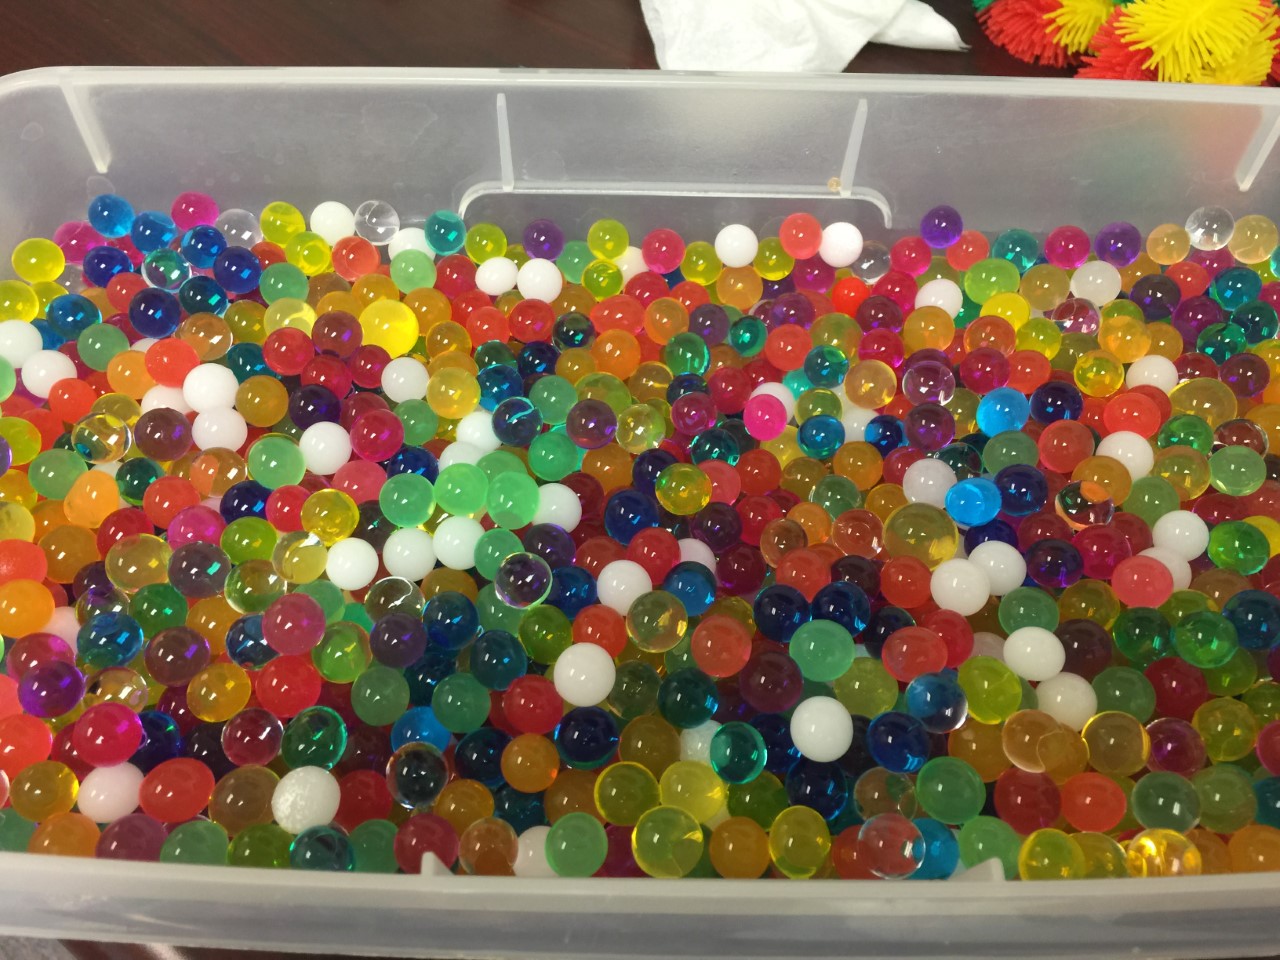
Water beads are the perfect (almost mess free) answer for anyone looking for a sensory activity (and when we say anyone, we mean children and adults)! Water beads promote learning and development in all content areas of the classroom. From fine motor exploration to science, color, sensory, and creative art – the ideas of how water beads can be used is endless. We here at PRC decided to try out some water beads just for fun and fell in love with their relaxation and stress relieving attributes. Check out the process for making them below. We bought Jelly Beadz from Amazon (roughly 1 pound or 30,000 beads for $18).
You will need:
Water Beads, Water, a medium to large tub, paper towels
- Start by pouring a handful of beads into the tub you are choosing to make your beads in (remember, even though it may not seem like many beads, once they grow they could very well outgrow your tub! That’s where the paper towels come in handy.
2.Fill your tub about halfway with water.
3. Let the tub sit overnight or for at least 4 hours while the beads absorb the water. Check to make sure there isn’t much excess water in the bottom of your tub. (If so, they may need more time or the water can be drained with a strainer).
4. Start playing!
That’s really all there is to it! Remember, these beads are not edible! They will last roughly 3 or 4 days before needing to be tossed or separated onto paper towels to dry out. Note that these beads will not release water but the water will evaporate and they will return to original size. They can be used again later!
Snack Time Math
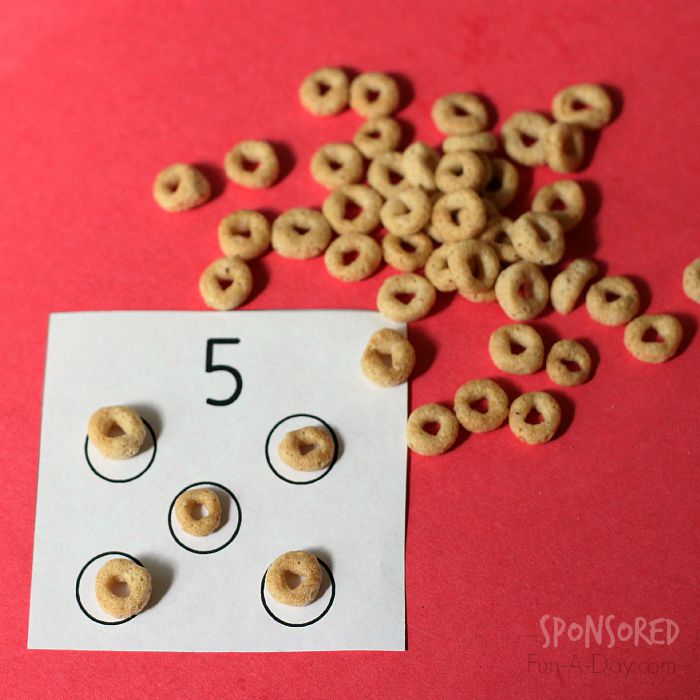
Visualizing numbers can be one of the best ways to learn simple math solutions. By using snack foods, most kids will become engaged because 1) they love to play with food, and 2) They probably get to actually eat the food once their task is complete! Younger children can work on establishing a one-to-one correspondence with their snacks.Using healthy but yummy snacks like popcorn, honey nut cheerios, and low sugar gummies will get them counting in no time! For older kids, you can create patterned charts using different colored candies (like skittles) or work on geometry with pretzel sticks and Cheeze-It crackers! Check out a few of the printables below to give you some ideas on how to make math time into snack time!
Don’t forget we can print these sheets and laminate them for you! Only $1.50 per foot of laminated material.
What To Do With Leftover Easter Candy
Did you know that Easter regularly beats out all other holidays (including Halloween) in candy sales?! Sometimes it can feel like the candy will never go away after Easter has come and gone! Here are a few ways to get rid of the candy–without dumping it straight into the trash, that may actually turn into an educational activity.
- Create a sink or float test. Have your kids hypothesize if they think certain chocolate candies will sink or float in a bowl of room temperature water. **Spoiler Alert** Milky Way, Kit Kats, and 3 Musketeers usually float!
- Put M&M’s and Skittles in a bowl of water and watch the colors and letters run off of the candy.
- Paint with Jelly Beans. Place jelly beans on a thick piece of paper (one that can get wet). Use a spray bottle with water to spray the beans. As the color “melts” off of the jelly beans, your artwork will begin to show. The more you spray a bean, the richer the color will be on the paper.
- Use the Switch Witch Method. Around Halloween, the switch witch likes to switch Halloween candy for a small toy. You may want to think of a clever name for the Easter version. Maybe the “Thiefster Bunny”?
- Donate–there are several donation programs for unused, individual wrapped candy. Here is one called Operation Gratitude. They send care packages to troops overseas.
Good luck dumping that candy! Why does that darn Easter Bunny bring so much candy in the first place?! 😉

